This step-by-step tutorial will demonstrate how to install GLPI on Ubuntu 22.04 using the Caddy webserver and MariaDB database.
GLPI is a powerful open source IT Service Management application aligned to the ITIL framework. It offers an IT Service Desk, Problem Management, Change Management, Inventory and Asset Management and many other features.
Caddy is a modern, performant web server written in Go. It can also act as a reverse proxy or file server and has built in support to automatically obtain and renew TLS certificates.
Prerequisites
You will need a computer running Ubuntu 22.04 and an account with sudo privileges
1. Install Caddy
We will install Caddy according to the official documentation to install on Ubuntu
Type the following commands into terminal:
sudo apt install -y debian-keyring debian-archive-keyring apt-transport-https curl
curl -1sLf 'https://dl.cloudsmith.io/public/caddy/stable/gpg.key' | sudo gpg --dearmor -o /usr/share/keyrings/caddy-stable-archive-keyring.gpg
curl -1sLf 'https://dl.cloudsmith.io/public/caddy/stable/debian.deb.txt' | sudo tee /etc/apt/sources.list.d/caddy-stable.list
sudo apt update
sudo apt install caddy
Check that Caddy is running:
sudo systemctl status caddy
Browse to the URL or IP of your server and confirm that you see the default Caddy home page
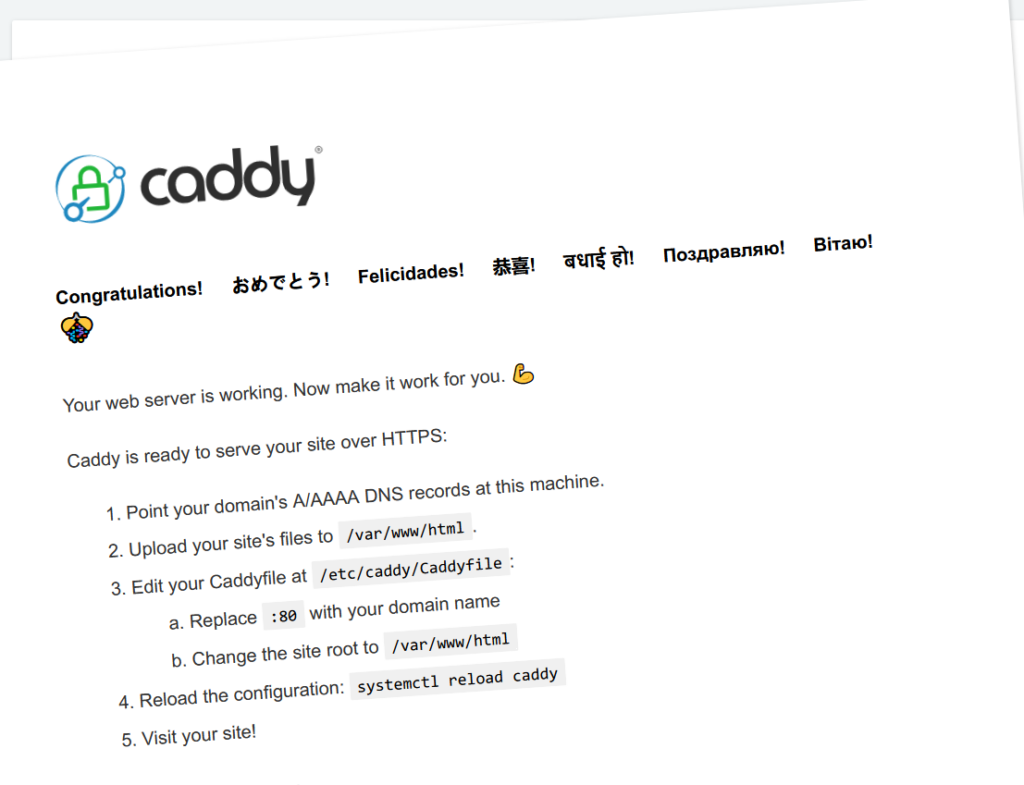
(Note that you may get a warning from your browser for the security certificate for now choose the option in your browser to continue to the site.)
2. Install PHP and dependencies required by GLPI:
sudo apt install --yes --no-install-recommends php php-fpm php-mysql php-ldap php-xmlrpc php-imap php-curl php-gd php-mbstring php-xml php-cas php-intl php-zip php-bz2 php-redis cron jq libldap-common libsasl2-2 libsasl2-modules libsasl2-modules-dbCheck the PHP version by typing php -vNote the major PHP version (eg. 8.1, 8.2, etc.) from the output.
3. Install MariaDB and Create a Database and User for GLPI
Install the MariaDB database server and run the secure installation wizard
sudo apt install mariadb-server
mysql_secure_installation
Complete the secure installation wizard, being sure to set a secure root password
Go into the MariaDB command prompt
mysqlCreate the database and user for GLPI. Be sure to replace ‘example_pw’ with a strong password.
create database glpi_db default character set utf8 collate utf8_unicode_ci;
create user 'glpi_db_user'@'localhost' identified by 'example_pw';
grant all privileges on glpi_db.* TO 'glpi_db_user'@'localhost';
flush privileges;
exit
4. Download and Prepare the GLPI Application Files
The GLPI Application Files can be obtained from https://github.com/glpi-project/glpi/releases
We will be using GLPI 10.0.14 which is the most recent version at the time of writing. Please check the releases page and modify the wget and tar commands to use the latest version.
sudo mkdir -p /var/www
cd /var/www
wget https://github.com/glpi-project/glpi/releases/download/10.0.14/glpi-10.0.14.tgz
tar -xzvf glpi-10.0.14.tgz
chown -R www-data:www-data /var/www/glpi
rm glpi-10.0.14.tgz
5. Configure Caddy for GLPI
Caddy is configured via a ‘Caddyfile’ which is located at /etc/caddy/Caddyfile
Edit your Caddyfile:
sudo nano /etc/caddy/CaddyfileModify the CaddyFile with the following:
:80 {
        root * /var/www/glpi/public
        php_fastcgi unix//run/php/php8.1-fpm.sock
        file_server
        encode gzip
}
Be sure to modify line 3 to specify the correct PHP version which you noted in step 2.
Note that if you have a DNS record pointing to your server you can substitute ‘:80’ with your fully qualified domain name. (Refer to the Caddy Documentation for configuring automatic HTTPS certificates.
6. Change Important File and Directories Locations for Better Security
To Improve security, we will move the GLPI Config, Files and Log directories outside of the web root.
This is a best practice for production systems but is optional if you are testing GLPI on your local network. Note that I am ignoring the FHS recommended locations and placing everything in a directory /glpi for simplicity.
Set up a Directory called /glpi for the important Directory locations
mkdir /glpi
cp -R /var/www/glpi/config /glpi/config
cp -R /var/www/glpi/files /glpi/files
mkdir /glpi/log
Give the web server user the correct permissions for the new directory
sudo chown -R www-data:www-data /glpi
Create file /var/www/glpi/inc/downstream.php
sudo nano /var/www/glpi/inc/downstream.phpCopy the following contents into the downstream.php file
<?php
 define('GLPI_CONFIG_DIR', '/glpi/config');

if (file_exists(GLPI_CONFIG_DIR . '/local_define.php')) {
   require_once GLPI_CONFIG_DIR . '/local_define.php';
 }
Create a file at /glpi/config/local_define.php
nano /glpi/config/local_define.phpAdd the following contents to this file
<?php
 define('GLPI_VAR_DIR', '/glpi/files');
 define('GLPI_LOG_DIR', '/glpi/log');
Let’s restart Caddy to load all of the new settings.
sudo systemctl restart caddy
7. Run the GLPI Installation Wizard
In your browser, navigate to your IP or hostname and you should be directed to the GLPI Installation Wizard.

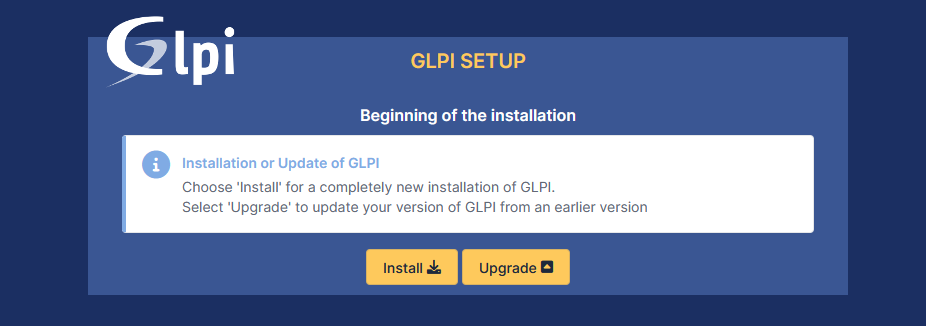
Choose your preferred language and click OK. Accept the licence on the next screen and continue. Choose install for a new installation
On the next screen review the environment checks and resolve any warnings. Then click ‘try again’ or ‘continue’ to move on.

The above warning can be resolved by editing the php.ini file at /etc/php/8.1/fpm/php.ini and setting the directive ‘session.cookie_httponly = On’ Enter the details for your Database
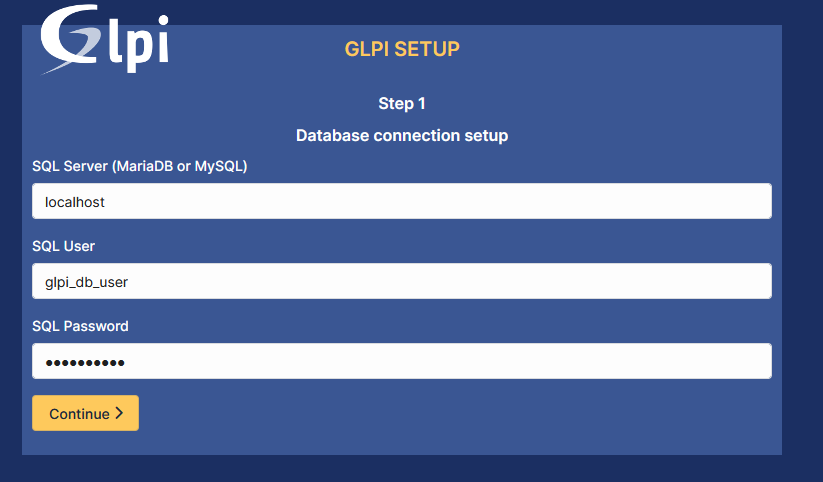
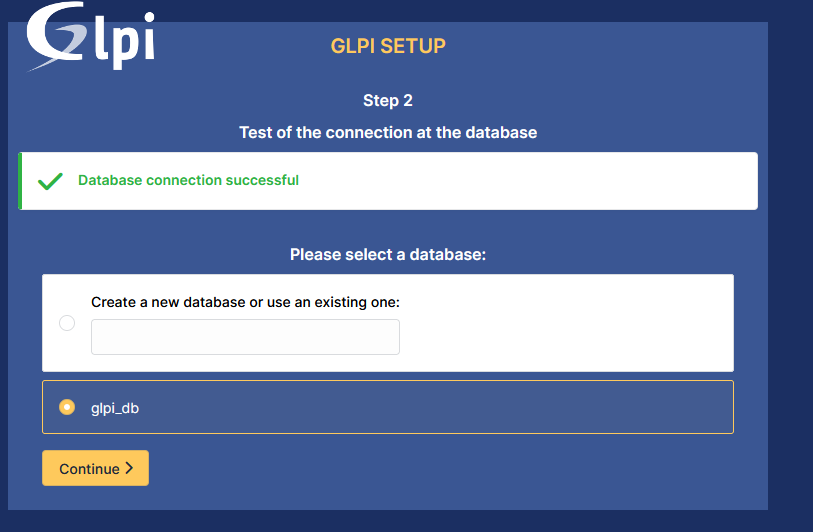
Select the glpi_db database that we created in step 3
After the database is initialized, click continue on all screens and then ‘Use GLPI’ on the last screen
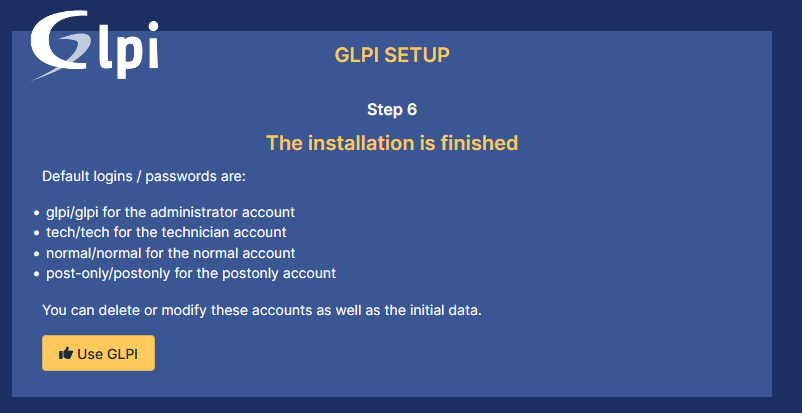
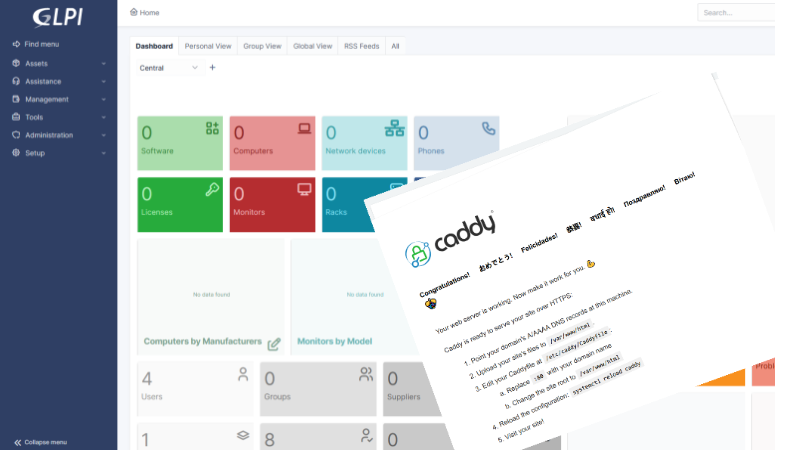
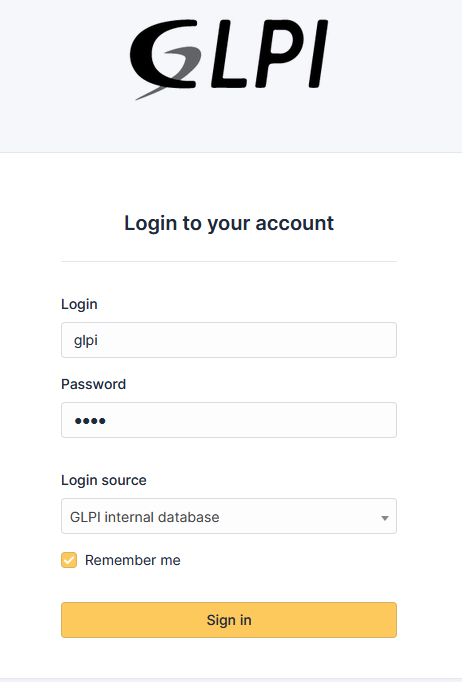
Log into GLPI with the default admin credentials
Congratulations! You have successfully Installed GLPI!
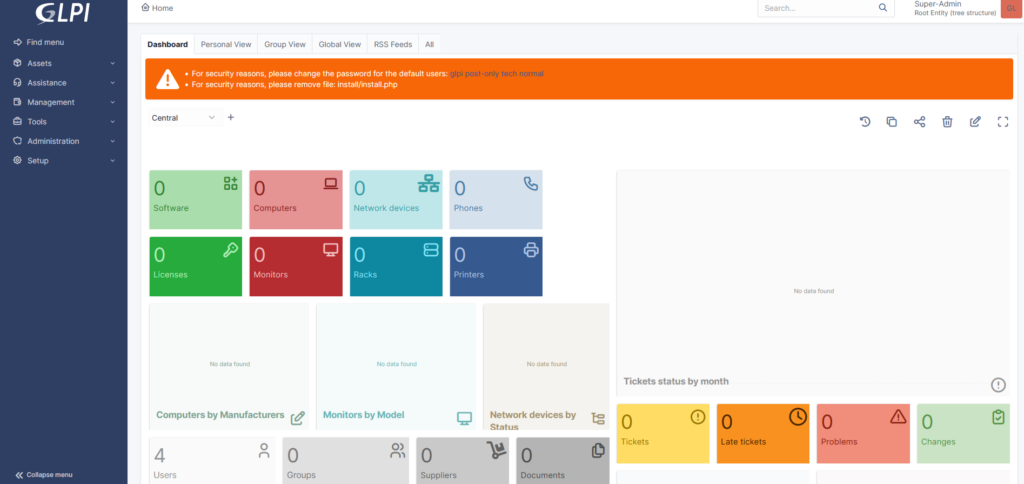
8. Post Installation Steps
There are a couple of final actions remaining post installation:
- Create a new SuperAdmin account and disable/delete the default users (or as a minimum change their default passwords.)
- Remove the install.php file:
sudo rm /var/www/glpi/install.php - You can additionally add a .htaccess file to the /var/www/glpi/install directory as described in the GLPI Admin Documentation to further secure the install directory.
- Register for a free account with GLPI Network to obtain a key for the GLPI Marketplace this allows you to install plugins from the Marketplace instead of having to download and install them manually.